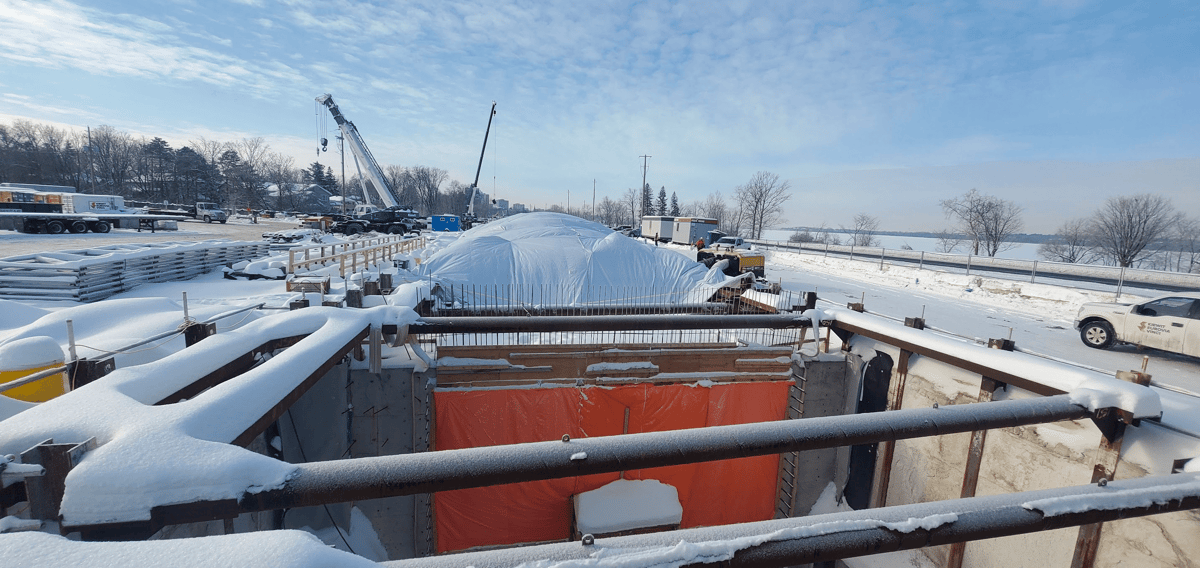
Don’t Let Winter Slow Your Site Schedule.
We all know construction doesn’t stop when temperatures drop. However, pouring concrete in cold weather is a skill and keeping schedules on task while staying away from threats of thermal cracking and structural problems can leave the bravest of us feeling blue. Giatec wants you to get it right on the first try! Use our free in-depth checklist to ensure your team crushes cold-weather pours.

What are the Stages of Concrete Pouring?
1. Pre-Pour Inspection: At this stage, general contractors review essential details such as structure drawings, waterproofing systems, schedules, mix design, and other project specifications. It’s important to consider the impacts of cold weather.
2. Concrete Pour: At this stage, general contractors focus on the concrete mix, taking the time to assess the discharge time, the properties of the loads, the jobsite nuances, and the monitoring systems essential for the curing period.
3. Post-Pour (Stage 1 and Stage 2): This stage is divided into two parts. First, general contractors carefully follow the curing schedule, ensure protection for cold weather conditions, and keep track of the temperature and maturity data provided by concrete sensors. And lastly, they take care of formwork removal and concrete finish.
Thoroughly managing your concrete pours in cold weather will ensure an optimal streamline of the construction process from start to finish. Download the Cold Weather Concreting Checklist now and make pouring in the cold smoother than ever before.
Let’s get you and your team out of the cold faster this winter!
